 The reason I discourage people from doing their own sprinkler work is because I care deeply about them. Valve boxes may contain deadly snakes, spiders, and baby alligators. Valve control wires carry thousands of volts of lethal electricity that will kill you dead if you even look at them wrong. Hundreds of people lose an eye every year attempting to nozzle dangerously high-pressure pop-up heads. Many more lose fingers by accidentally gluing them onto PVC pipe.
Okay, so maybe none of the above statements are true. Oh, except the part about me caring deeply about you. I care so much about you and your money that I want you to have the best service available. I’ve already made every mistake you could hope to, and I have the baby-alligator-bite scars to prove it!
I understand times are tight, however, and I’m willing to impart a few tips here and there if you MUST be hands-on. Many people like to re-activate their own system in the spring. If you are trying this for the first time please read these links first:
http://www.cityraininc.com/closing-test-cocks-on-the-double-check/
http://www.cityraininc.com/your-test-cocks-are-left-open-in-the-winter-for-a-reason/
If you follow the steps after reading those two posts (which admittedly are a little redundant) you may notice a zone comes on and stays on. The controller is off, what’s up?
Well, the sprinkler guy has left one of the valves open manually after winterizing. He probably winterized (blew out) zones by manually activating valves, due to lack of access to an inside controller. The last valve is left open to bleed the remaining air pressure before the compressor hose is disconnected.
Ok, so we need to shut that valve off. First shut off the main valve again. Locate the valve box nearest the zone that was running. If you don’t know where all your valve boxes are, you should. What kind of do-it-yourselfer are you anyway?
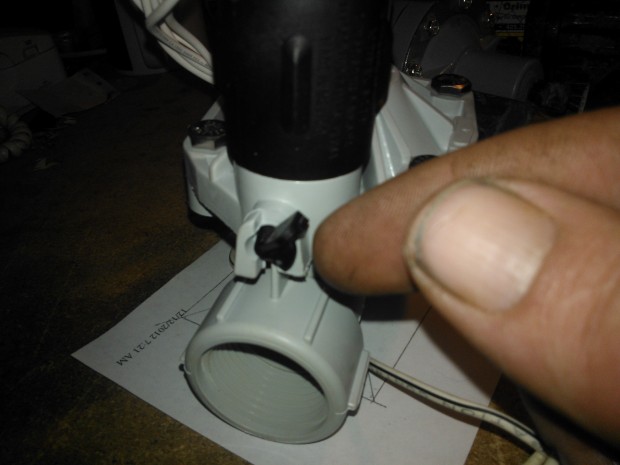
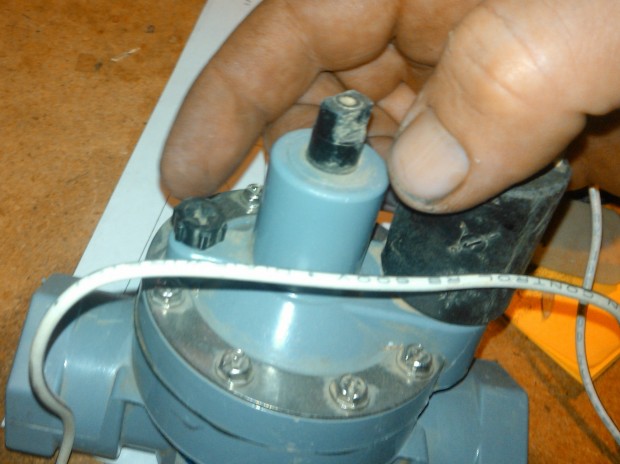
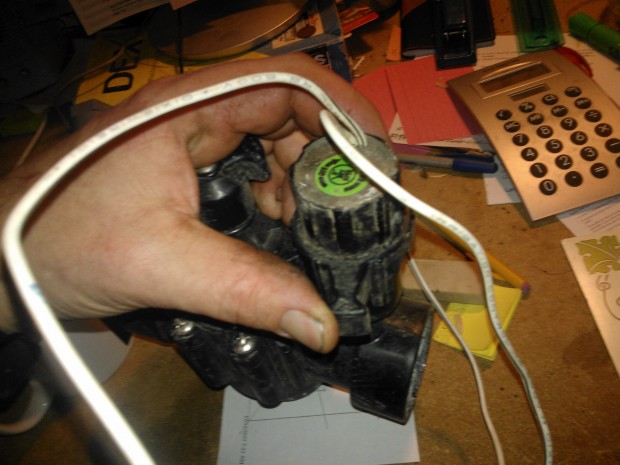
Open the box lid, check for spiders, snakes and alligators…next determine which type of manual activation opens your valves. The three most common are toggle switch, bleed pin, and solenoid-twist. I’ve taken three pictures here:
This is the toggle switch type. When the little lever is up, the valve is on- down: off.
This is a bleed pin I’m pointing to. Most of these have screwdriver slots in them for easy turning. This one also has ribs for easy finger turning. Remember: righty-tighty= off; lefty-loosey= on.
This is the solenoid-twist. Not exactly a new dance that’s sweeping the nation. The lefty-loosey/ righty-tighty principle applies here too. This solenoid has a plastic lever collar attached for ease of use. Most don’t. Never use pliers to tighten or loosen solenoids, or at least be gentle. Solenoids are meant to be hand-tight, never crank on ’em. You’ll tear the O-ring or crack the seat. Don’t loosen too much either- you don’t want it to pop off and lose an O-ring or plunger in the dirt. You might even put your eye out, kid.
Ok, you probably won’t put your eye out. A good rule of thumb is a 90º turn to loosen. Then to close just snug it up clockwise.
If you’ve checked all your valves and the system is still on inexplicably, read this http://www.cityraininc.com/help-my-system-wont-shut-off/
Alright then DIY guys, I wish you luck. I’m here for you if you need me. Like a strange man in your yard, I’m here to put your mind at ease.


